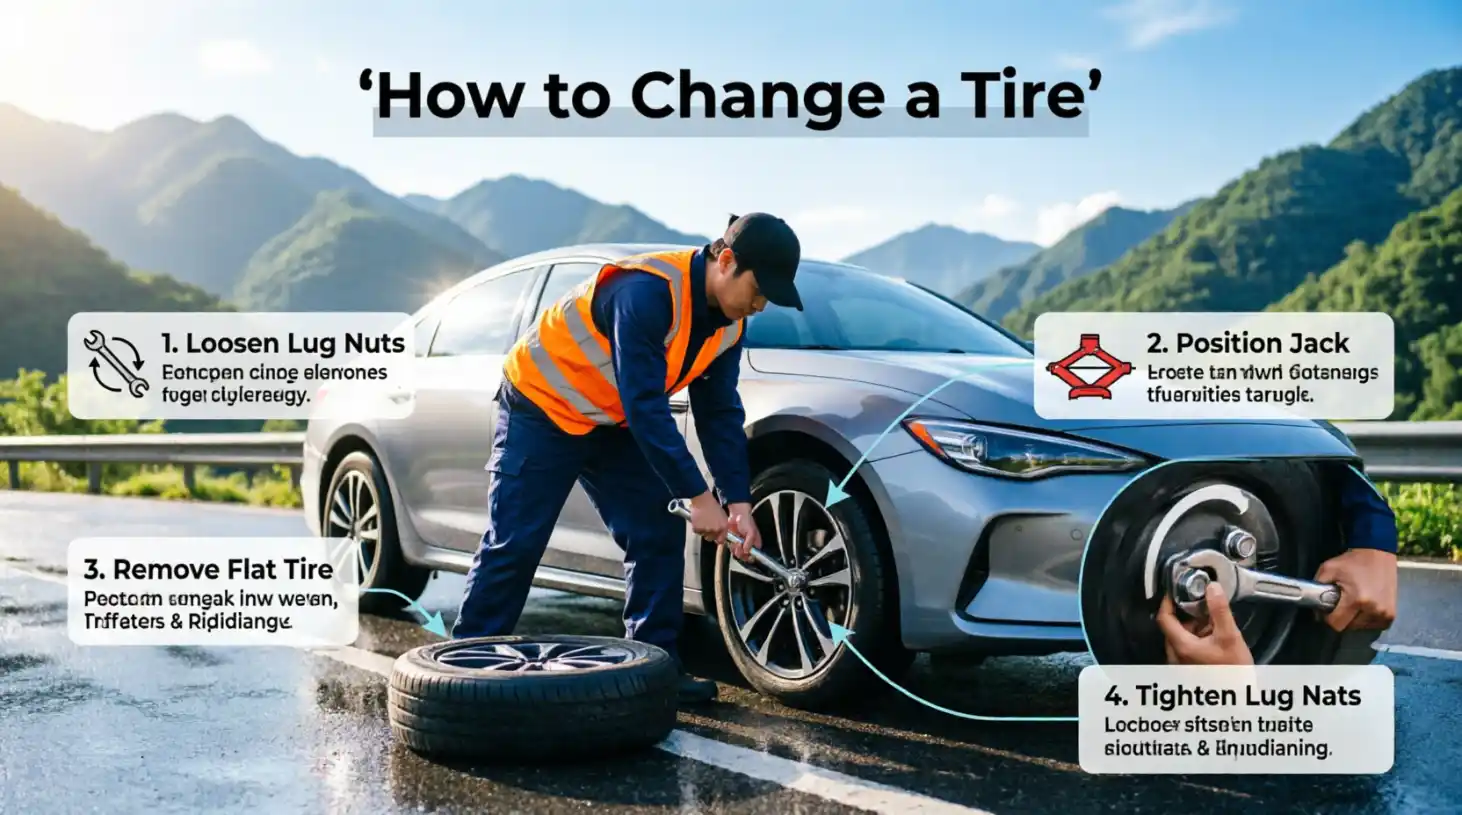
To change a tire, park on firm, level ground away from traffic, turn on your hazard lights, and set the parking brake. Loosen the lug nuts, raise the vehicle at the correct jack point, remove the flat tire, install the spare, tighten the lug nuts evenly, lower the vehicle, and check the spare’s pressure before driving.
Key Takeaways
- Always get your vehicle somewhere safe before attempting a tire change.
- Loosen the lug nuts before raising the vehicle.
- Use only the jack points specified in your owner’s manual.
- Tighten the lug nuts evenly, preferably in a star or crisscross pattern.
- A compact spare is generally a temporary solution, so have the regular tire repaired or replaced as soon as possible.
What You Need to Change a Tire
Before you start, make sure you have the equipment required for your vehicle. Most cars with a spare tire come with a jack, lug wrench, and spare tire. The exact storage location varies by vehicle, so check your owner’s manual. Some cars keep the spare under the cargo floor, while others mount it underneath the vehicle or do not provide one at all.
Helpful extras include:
- Flashlight
- Work gloves
- Tire pressure gauge
- Wheel chocks
- Reflective vest or warning devices
- Portable tire inflator
Your owner’s manual is especially important because it shows the correct jack points and may provide vehicle-specific instructions.
How to Change a Tire Step by Step
1. Pull Over Somewhere Safe
If you notice a flat while driving, don’t panic. Reduce your speed gradually and steer to a safe location away from moving traffic.
A parking lot, wide shoulder, or other firm, level area is preferable. Avoid changing a tire on a hill, soft ground, or a narrow roadside if traffic creates a serious hazard.
Turn on your hazard lights once you have stopped. AAA and Michelin both emphasize moving as far away from traffic as practical and choosing stable, level ground before starting the job.
If you cannot reach a safe location without putting yourself in danger, call roadside assistance instead.
2. Secure the Vehicle
Put an automatic transmission in Park. For a manual transmission, follow your vehicle’s owner’s manual regarding the appropriate gear.
Set the parking brake and turn the engine off.
If you have wheel chocks, place them according to the manufacturer’s instructions to help prevent the vehicle from moving.
Keep passengers away from traffic and the work area. Safety comes before getting back on the road quickly.
3. Get the Spare and Tools
Take out the spare tire, jack, and lug wrench. Check that you have everything before lifting the vehicle.
If your car uses locking lug nuts, you will also need the special key. You may find it in the glove compartment, center console, or with the vehicle’s tire-changing equipment.
Before installing the spare, look at it carefully. If it appears damaged or severely underinflated, don’t assume it is safe to use.
4. Loosen the Lug Nuts
If your wheel has a hubcap or wheel cover, remove it according to your vehicle’s instructions.
Place the lug wrench over a lug nut and turn it counterclockwise to loosen it. Do not remove the nuts completely yet.
Loosen each lug nut while the tire is still touching the ground. The vehicle’s weight helps keep the wheel from turning while you break the nuts loose. AAA specifically recommends loosening the nuts before raising the vehicle.
If a lug nut will not move, don’t put yourself at risk by using excessive force or an unstable tool. Roadside assistance may be the safer option.
5. Position the Jack
Find the correct jack point for the flat tire.
This is one step where your owner’s manual matters. Do not simply place the jack anywhere under the vehicle. A wrong position can damage the vehicle or make the jack unstable.
Place the jack on firm ground and position it exactly where your manufacturer specifies. If the surface is soft or unstable, stop and find a safer location.
6. Raise the Vehicle
Slowly operate the jack and watch the vehicle as it rises.
Raise it only high enough for the flat tire to clear the ground. You need enough space to remove the wheel and install the spare.
Never put any part of your body underneath a vehicle supported only by a jack. A jack is intended to lift the vehicle for the tire change, not to provide a safe platform for working underneath it. AAA specifically warns against placing your body under the raised vehicle.
7. Remove the Flat Tire
Now remove the loosened lug nuts completely and put them somewhere safe where they cannot roll away.
Hold the tire with both hands and pull it straight toward you. If it feels stuck, avoid violently kicking or shaking the vehicle.
Once the wheel comes off, place the flat tire somewhere nearby where it will not roll into traffic.
You can also use the removed tire as an additional precaution by keeping it nearby, but do not rely on it to support the vehicle.
8. Install the Spare Tire
Lift the spare carefully and line up its holes with the wheel studs.
Push the spare onto the hub until it sits properly against the mounting surface.
Thread the lug nuts onto the studs by hand. Starting them by hand helps reduce the chance of cross-threading.
At this stage, tighten them only enough to hold the wheel securely in place.
9. Tighten the Lug Nuts
Lower the vehicle slightly so the spare touches the ground and cannot rotate freely, but follow your vehicle’s instructions for the exact procedure.
Tighten the lug nuts gradually using a star or crisscross pattern rather than tightening neighboring nuts one after another. This helps seat the wheel evenly. AAA recommends tightening in a star pattern.
If your vehicle manufacturer specifies a particular torque value, use a torque wrench to tighten the lug nuts to that specification once the vehicle is fully lowered.
10. Lower the Vehicle and Check Everything
Lower the vehicle completely and remove the jack.
Give each lug nut a final check using the manufacturer’s specified tightening procedure.
Then make sure:
- The spare is sitting correctly.
- The lug nuts are properly tightened.
- The jack and tools are removed from the roadway.
- The flat tire and equipment are secured.
- The spare has appropriate air pressure.
NHTSA recommends checking tire pressure according to the vehicle manufacturer’s specification. The correct pressure is normally found on the driver’s door-jamb label or in the owner’s manual—not simply by using the maximum pressure printed on the tire’s sidewall.
What to Do After Changing the Tire
Changing the tire gets you moving again, but the job is not necessarily finished.
If you installed a compact or temporary spare, drive to a tire shop or repair facility as soon as reasonably possible. Temporary spares are designed for limited use, not as permanent replacements. NHTSA documentation for compact spares specifies following the vehicle manufacturer’s instructions and notes that many temporary spares have a 50-mph limit. Your particular vehicle’s instructions take priority.
Once you reach a tire professional, have the damaged tire inspected. A puncture in an appropriate repairable area may sometimes be repairable, while sidewall damage or other serious damage may require replacement.
Can You Change a Tire Without a Spare?
Yes, but you cannot install a replacement wheel if you do not have one.
Some modern vehicles do not include a spare tire. Instead, they may come with a tire repair kit, sealant, an inflator, or another type of emergency mobility system. AAA notes that many newer vehicles no longer carry spare tires.
A repair kit may work for certain small punctures, depending on the kit and tire damage. It is not a universal solution for severe punctures, sidewall damage, or a destroyed tire.
If your vehicle has no spare and the tire cannot be safely repaired using the equipment provided, contact roadside assistance or a tire service.
When You Should Not Change a Tire Yourself
Knowing when not to attempt the repair is just as important as knowing how to change a tire.
Call for professional assistance if:
- You are stopped in an unsafe traffic location.
- The vehicle is on a steep slope.
- The ground is soft, muddy, or unstable.
- The jack or tire-changing equipment is damaged.
- You cannot find the correct jack point.
- You cannot safely loosen the lug nuts.
- The spare is missing, damaged, or badly underinflated.
- The tire has severe damage and you are unsure if the wheel is safe.
- Weather or visibility makes the roadside work dangerous.
Michelin specifically advises against attempting a tire change when doing so puts you or your passengers at risk.
In those situations, roadside assistance is usually a safer solution than trying to finish the job yourself.
Common Tire-Changing Mistakes to Avoid
Lifting the car before loosening the lug nuts:
The wheel can rotate while suspended, making the nuts much harder to loosen.
Using the wrong jack point:
Always follow your vehicle manufacturer’s instructions.
Working underneath a vehicle supported by a jack:
Never put your body underneath a vehicle that is supported only by a jack.
Forgetting the spare’s pressure:
A spare that has been sitting unused for months or years may not have the correct pressure. NHTSA recommends checking spare-tire pressure as part of regular tire maintenance.
Treating a temporary spare like a normal tire:
A compact spare is generally intended to get you to a repair facility, not to replace your regular tire indefinitely.
Driving away without checking the lug nuts:
Make sure the wheel is properly secured before moving the vehicle.
Frequently Asked Questions
How long does it take to change a tire?
For someone familiar with the process, a basic spare-tire change can take around 20 minutes under good conditions. Actual time varies with the vehicle, tools, experience, weather, and roadside conditions.
Can I change a tire by myself?
Yes, if your vehicle has the required equipment and you can safely work on firm, level ground away from traffic. If the location or vehicle condition creates a serious safety risk, use roadside assistance instead.
How far can I drive on a spare tire?
It depends on the type of spare and your vehicle manufacturer’s instructions. Compact spares are temporary and may have specific distance and speed limitations. Check the spare’s sidewall and owner’s manual before driving.
What if I cannot loosen the lug nuts?
Don’t put yourself in danger by using an unstable method or excessive force. If the lug nuts will not loosen safely, contact roadside assistance or a qualified tire professional.
What if my car does not have a spare tire?
Check if your vehicle came with a tire repair kit or inflator. If the tire cannot be safely repaired with the supplied equipment, call roadside assistance or a tire service.
Conclusion
Learning how to change a tire can help you handle a common roadside problem with more confidence. The basic process is straightforward: find a safe location, secure the vehicle, loosen the lug nuts, raise the car at the correct jack point, remove the flat, install the spare, tighten the lug nuts evenly, and check the spare before driving.
However, safety should always come first. If traffic, weather, terrain, damaged equipment, or the condition of the tire makes the job unsafe, call for professional help instead. And remember that a temporary spare is generally only a short-term solution. Have the original tire repaired or replaced as soon as possible.

Dan Brown is a passionate relationship writer and anniversary message expert at coupleanniversary. With a deep understanding of love, marriage, and meaningful celebrations, he specializes in creating heartfelt anniversary wishes, romantic messages, and thoughtful words that help couples express their emotions perfectly.