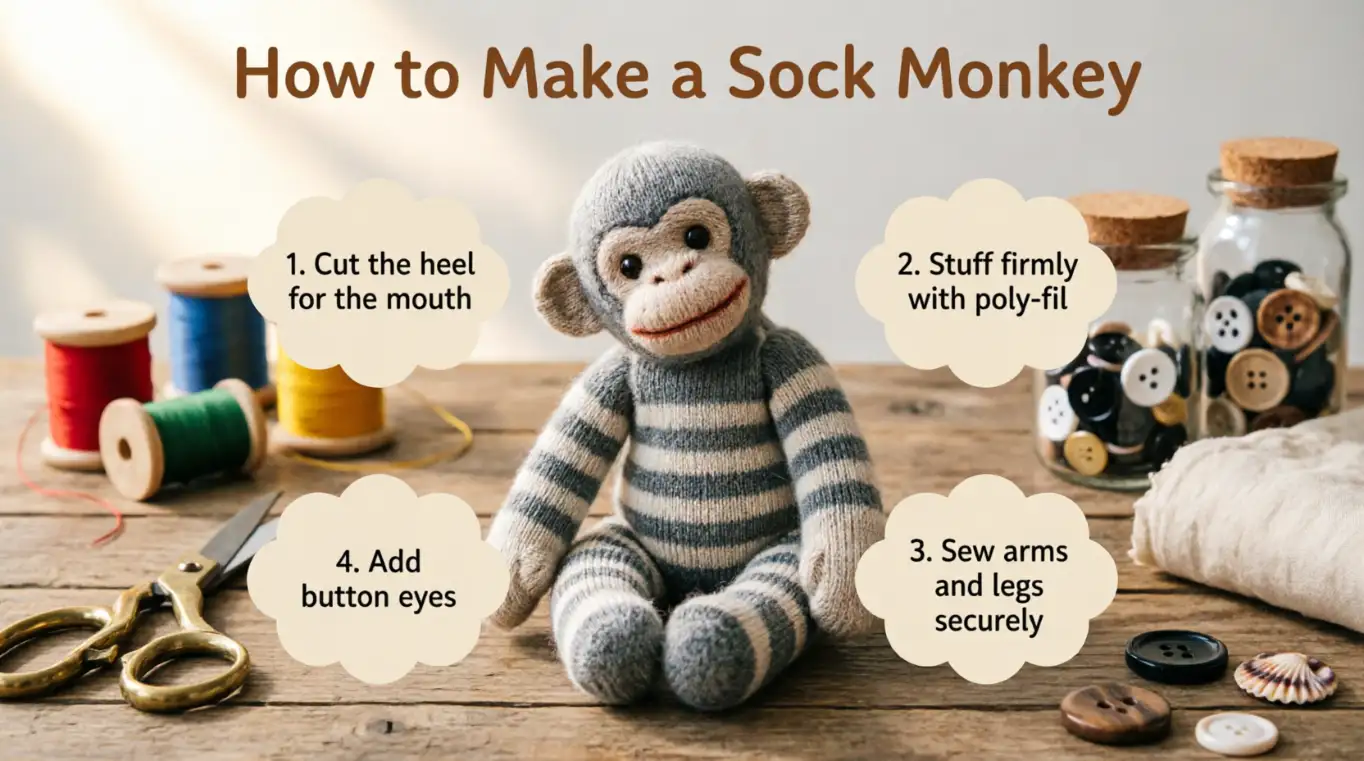
To make a sock monkey, use one pair of long socks, stuffing, thread, a needle, scissors, and a fabric marker. Turn the socks inside out, mark and sew the body and limbs, cut them out, turn them right-side out, stuff each piece, and hand-sew the monkey together. Add embroidered or securely attached eyes and facial details to finish it.
Key Takeaways
- One pair of socks can make a complete sock monkey.
- One sock becomes the body and legs; the other provides the arms, tail, ears, and mouth.
- Sew the marked pieces before cutting around them for cleaner, stronger seams.
- Stuff gradually so the monkey stays soft instead of lumpy or overly firm.
- For young children, embroidered eyes are a safer choice than loose buttons because detachable small parts can create a choking hazard.
What You Need to Make a Sock Monkey
The great thing about a sock monkey is that you do not need a large collection of craft supplies. A few basic sewing materials are enough.
Materials:
- 1 pair of clean, long socks
- Polyester fiberfill or other suitable toy stuffing
- Needle
- Strong sewing thread
- Fabric scissors
- Fabric marker or washable pen
- Embroidery thread for the face
- Two buttons or felt pieces for eyes, if appropriate
- Pins or sewing clips
A sewing machine is optional. You can make the entire monkey by hand, although a machine can make the main seams faster.
Long adult socks give you more fabric for long arms, legs, and a tail. Stretchy socks can also make the project easier because they accommodate stuffing well. Several existing tutorials use a pair of socks as the basic material, with one sock forming the body and the second supplying the smaller parts.
For a traditional look, you can use brown socks with contrasting heels. The familiar red-heel sock monkey became closely associated with Rockford, Illinois, and Depression-era homemade toys. The red heel eventually became a recognizable feature of the classic design.
How to Make a Sock Monkey Step by Step
1. Prepare the Socks
Start by washing and drying the socks. Turn both socks inside out and lay them flat.
Choose one sock for the body and legs. Place its heel where you can clearly see it. The second sock will become the arms, tail, ears, and mouth.
Smooth out wrinkles before marking anything. This small step matters because a twisted sock can make your monkey look uneven later.
Use a washable fabric marker to draw your sewing lines. Keep the lines simple and rounded rather than creating sharp corners.
A useful beginner rule is sew first, cut second. Several sock-monkey tutorials recommend sewing the marked outlines before cutting the individual pieces because it makes the small stretchy pieces easier to handle.
2. Make the Body and Legs
Take the sock you selected for the body.
Mark a center line down the long section of the sock toward the heel. This line will separate the two legs. Draw a rounded seam on each side of the center line.
Leave an opening between the legs so you can turn and stuff the body.
Now sew along the two leg outlines. If you are using a sewing machine, use a stitch suitable for stretchy fabric and sew slowly. If you are sewing by hand, use small, close stitches.
Once the seams are secure, carefully cut between the two sewn leg seams. Do not cut through the stitching.
Turn the body right-side out. You should now see the basic shape of the monkey, with a body, head area, and two legs.
3. Cut the Arms, Tail, Ears, and Mouth
Use the second sock for the remaining parts.
Mark:
- Two long arms
- One long tail
- Two ears
- One mouth or muzzle piece
The exact shapes do not need to be perfect. In fact, small differences can give a handmade sock monkey its personality.
Sew around the outlines of the arms, tail, and ears while leaving a small opening for turning and stuffing. Cut around the seams afterward, leaving enough fabric outside the stitching to protect the seams.
The mouth can be made from the heel section or another contrasting piece of the second sock. The classic design often uses a contrasting heel as part of the monkey’s face.
4. Turn and Stuff the Pieces
Turn the arms, tail, ears, and body right-side out.
Now comes the fun part: stuffing.
Start with small amounts of fiberfill. Push the filling gently into the ends of the legs and arms before adding more to the main body.
A blunt turning tool, wooden spoon handle, or similar tool can help push stuffing into narrow areas. Avoid using anything sharp that could damage the fabric.
Keep checking the shape as you work. Add a little stuffing, smooth it with your fingers, and then add more.
Do not pack the stuffing too tightly. Overstuffing can stretch the sock and put extra pressure on the seams. Beginner tutorials commonly recommend working with small pieces of filling to reduce lumps.
5. Close the Body
When the body and legs have the shape you want, close the opening.
Fold the raw edges inward and sew them together with small hand stitches. A ladder stitch works well for closing an opening neatly because the stitches can become difficult to see when pulled together.
Check the legs before finishing the seam. If one leg feels much fuller than the other, adjust the stuffing now.
6. Sew on the Arms and Tail
Place the arms on opposite sides of the body. Position them at the same height, then pin or clip them temporarily.
Hand-sew each arm securely around its opening.
Next, position the tail on the lower back of the monkey. You can make the tail floppy by using less stuffing or leave it mostly unstuffed for a softer, flexible shape.
Sew around the base several times so the tail stays attached during normal play.
Take a moment to look at the monkey from the front and back. Adjust the placement if something looks crooked before finishing the stitches.
7. Add the Mouth and Face
Position the mouth piece on the front of the head.
Fold the raw edge underneath and stitch the piece securely to the face. Add a little stuffing underneath if you want the muzzle to have more dimension.
Now add the eyes.
For an older child, decorative buttons may be an option if they are attached extremely securely. However, buttons and other detachable small parts can become choking hazards for young children. The U.S. Consumer Product Safety Commission has documented recalls involving stuffed toys whose button eyes detached.
For a baby or young child, embroidered eyes are a better choice than loose buttons. You can also sew on pieces of felt securely, depending on the intended use.
Finish the face with embroidery thread. Add a nose, smile, eyebrows, or other details to give your monkey a unique expression.
How to Make a Sock Monkey Without a Sewing Machine
You can absolutely make a sock monkey by hand.
Use a strong needle and thread, then make small, close stitches around the body and limb seams. Hand sewing takes more patience, but it gives you greater control over small pieces.
For the best result:
- Mark your pieces clearly.
- Sew slowly.
- Keep stitches close together.
- Leave turning and stuffing openings where needed.
- Reinforce the attachment points for the arms and tail.
- Check every seam before adding the final facial details.
A hand-sewn sock monkey can look just as charming as one made with a sewing machine.
Tips for a Better-Looking Sock Monkey
Choose socks with some stretch. They are easier to turn and stuff than very stiff fabric.
Match the socks carefully. Matching socks create a traditional appearance, while mismatched socks can create a colorful, playful monkey.
Do not rush the stuffing. Uneven stuffing is one of the easiest ways to create bumps.
Keep the limbs balanced. Before sewing, compare the arm and leg lengths from side to side.
Use the heel creatively. A contrasting heel can become an eye-catching mouth or muzzle.
Customize the personality. Embroidered eyebrows, different eye shapes, a tiny hat, a scarf, or a fabric bow can make each monkey different.
Common Sock Monkey Problems and Easy Fixes
The monkey looks lumpy.
Remove some stuffing and redistribute it in smaller pieces. Work from the narrow limb ends toward the body.
The legs are uneven.
Check the original sewing lines. Small differences can usually be corrected by adjusting the seam or stuffing.
The fabric is stretching around the seams.
The monkey may be overstuffed. Remove a little filling and reinforce any weak stitching.
The arms look crooked.
Temporarily pin both arms before sewing. Look at the monkey from the front and side to compare their positions.
The face looks flat.
Add a small amount of stuffing behind the mouth piece before closing it.
Is a Homemade Sock Monkey Safe for Children?
That depends on how you construct and use it.
For a young child, avoid detachable buttons, beads, loose decorations, or other small pieces. Secure facial details firmly, and inspect the seams regularly for damage. The CPSC has specifically identified detachable button eyes as a choking hazard in recalled stuffed toys.
For babies and toddlers, embroidered facial features are generally a more suitable design choice than loose decorative pieces.
Also keep scissors, needles, pins, and other sharp tools away from children while making the project.
Frequently Asked Questions
How many socks do you need to make a sock monkey?
You normally need one pair of socks, or two socks. One sock becomes the body and legs, while the second sock supplies the arms, tail, ears, and mouth. Long socks give you more material for larger limbs.
What kind of socks are best for a sock monkey?
Long, stretchy socks work well because they provide enough fabric for the body and limbs. Brown socks with contrasting heels create the familiar traditional appearance, but colorful or mismatched socks can make fun modern versions.
Can you make a sock monkey by hand?
Yes. A sewing machine is optional. You can sew the body, limbs, and attachments with a needle and strong thread. Use small, close stitches and reinforce areas such as the arms and tail where the seams receive more stress.
How do you stuff a sock monkey without making it lumpy?
Use small pieces of fiberfill instead of pushing in one large handful. Fill the narrow ends of the legs and arms first, then gradually work toward the body. Smooth the filling with your fingers as you go.
How do you make a sock monkey’s face?
Use a separate sock section, often the heel, for the mouth or muzzle. Sew it onto the front of the stuffed head, then add eyes and facial details with embroidery thread or securely attached materials. For young children, embroidered eyes avoid the small-part concern associated with detachable buttons.
Conclusion
Learning how to make a sock monkey is a simple sewing project that turns an ordinary pair of socks into a handmade stuffed animal. The basic process is straightforward: prepare the socks, sew and cut the body and limbs, turn the pieces right-side out, stuff them gradually, and sew everything together.
The best part is that your monkey does not have to look perfect. A slightly different smile, uneven ears, or colorful socks can give it character. Start with a simple design, take your time with the seams, and customize the face when you reach the finishing stage.
With a pair of socks and a few basic sewing supplies, you can create a soft, personal craft that looks completely different from anything you could buy ready-made.