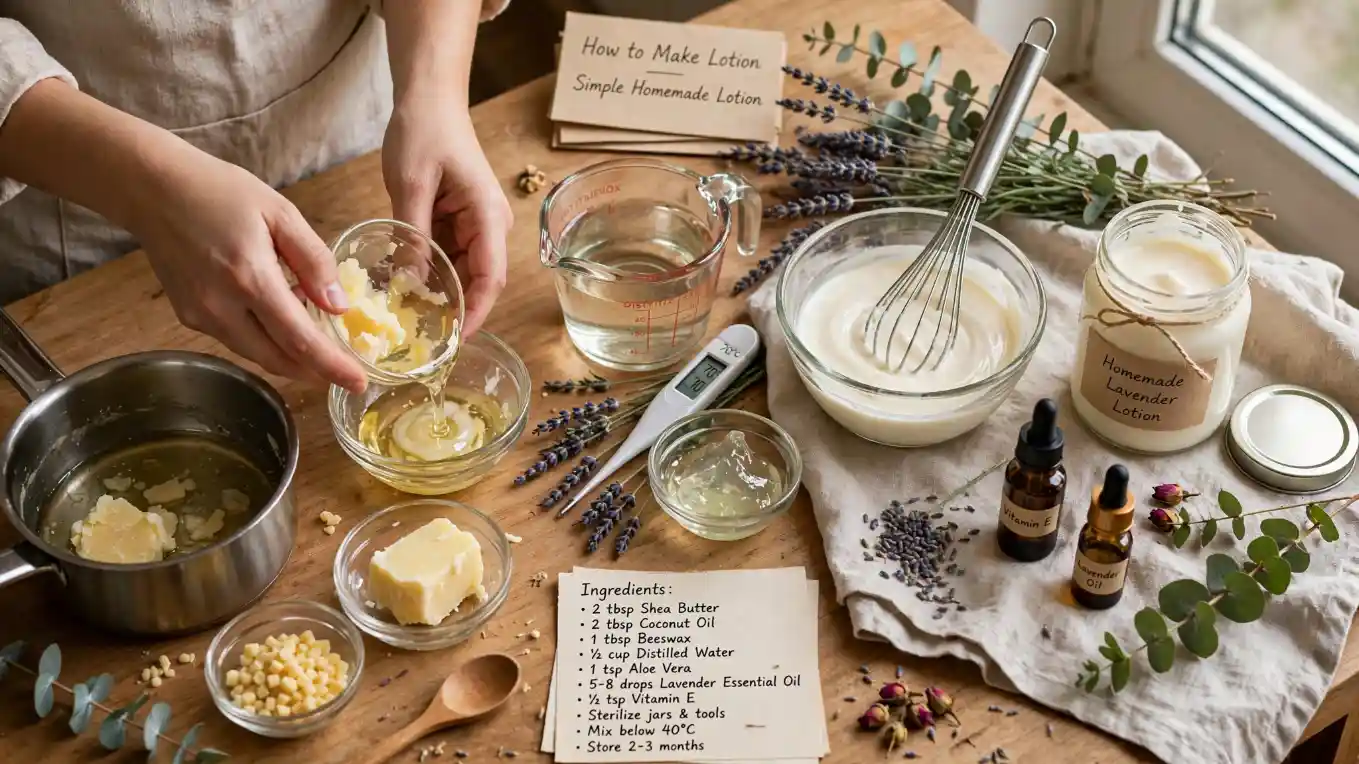
To make lotion at home, combine a water phase and an oil phase with an emulsifying wax that keeps them blended. A basic lotion also needs a suitable broad-spectrum preservative because it contains water. For a beginner batch, weigh the ingredients, heat both phases, blend them together, add the preservative according to its supplier instructions, and package the finished lotion in a clean container.
Key Takeaways
- Lotion is an emulsion of water and oil, so you need an appropriate emulsifier.
- A digital scale gives much more reliable results than measuring by volume.
- Water-based lotion needs an effective preservation system to control microbial growth.
- Use a proven formula instead of randomly changing ingredient percentages.
- Start with a small batch and test it before making larger quantities.
What You Need to Make Lotion
Making homemade lotion is not quite the same as mixing a few oils together. A true lotion combines ingredients that normally do not stay mixed, mainly water and oil.
An emulsifier helps hold those two phases together. Emulsifying wax is commonly used for this purpose in DIY lotion formulas.
You will usually work with three basic parts:
| Part | Examples | Main purpose |
| Water phase | Distilled water, glycerin | Creates the fluid base |
| Oil phase | Jojoba, sunflower, or fractionated coconut oil | Adds emollience and slip |
| Emulsifier | Emulsifying Wax NF | Helps water and oil stay together |
A preservative is also important when your formula contains water. FDA notes that cosmetic products can become contaminated through water, raw materials, poor manufacturing conditions, or ineffective preservation.
Easy Homemade Lotion Recipe
For beginners, a 100-gram batch is convenient because the percentages and gram amounts are easy to understand.
This simple formula is adapted from the type of beginner lotion formulation commonly used by experienced DIY formulators. One established example uses 76.5% distilled water, 10% glycerin, 10% oil, 3% emulsifying wax, and 0.5% Liquid Germall Plus.
Ingredients
- 76.5 g distilled water
- 10 g vegetable glycerin
- 10 g lightweight carrier oil, such as fractionated coconut oil
- 3 g Emulsifying Wax NF
- 0.5 g broad-spectrum preservative, such as the specific preservative used in the reference formula
The important point is to follow the manufacturer’s recommended usage rate and processing instructions for whichever preservative you choose. Preservatives are not interchangeable simply because they are all called preservatives.
For your first batch, keep the formula simple. Avoid adding several extracts, fragrances, essential oils, or unusual ingredients at the same time.
Equipment
You will need:
- Digital kitchen or cosmetic scale
- Two heat-safe containers
- Small saucepan or double boiler
- Thermometer
- Immersion blender or suitable mini mixer
- Spatula
- Clean lotion bottle or pump container
- Clean workspace and utensils
A pump bottle can also reduce the amount of direct finger contact compared with a wide-mouth jar.
How to Make Lotion Step by Step
1. Sanitize Your Equipment
Start with clean equipment and a clean workspace.
Wash your containers and utensils thoroughly, allow them to dry, and avoid touching the inside surfaces unnecessarily. This matters because water-based cosmetics can support microbial growth if contamination gets into the finished product. FDA specifically identifies contaminated water, ingredients, equipment, and poor manufacturing conditions as possible sources of contamination.
2. Prepare the Water Phase
Weigh 76.5 grams of distilled water into one heat-safe container.
Add 10 grams of vegetable glycerin and mix.
Using a scale is better than estimating the water with a measuring cup because small changes can affect the final formula.
3. Prepare the Oil Phase
In a separate heat-safe container, weigh:
- 10 g carrier oil
- 3 g emulsifying wax
If your particular formula contains a butter or another oil-soluble ingredient, include it in the oil phase according to the formula.
Do not casually substitute ingredients. Different emulsifiers and oils can require different percentages and processing methods.
4. Heat Both Phases
Place the two containers in a controlled water bath or double-boiler setup.
Warm the water phase and oil phase until the emulsifying wax has completely melted. The goal is to have the phases sufficiently warm for proper emulsification.
Exact processing temperatures depend on the ingredients and emulsifier you use, so follow the supplier’s instructions for your specific materials.
The basic idea is simple: the wax needs to melt, and the two phases need to be compatible when you combine them.
5. Combine and Emulsify
Once both phases are ready, combine them according to your chosen formulation.
Blend with an immersion blender in short bursts while the mixture begins to turn creamy.
This is the stage where water and oil become an emulsion rather than remaining as two separate layers.
Keep mixing as the lotion cools. Some formulations need more shear and mixing than others, so don’t assume that a few seconds of hand stirring will always be enough. Experienced lotion-making resources specifically identify insufficient blending as one possible reason an emulsion fails.
6. Add the Preservative
Allow the lotion to cool to the temperature specified by your preservative manufacturer.
Then add your preservative at its recommended rate.
This step is extremely important. A preservative is not simply an optional ingredient added to make the lotion last longer. Water-based cosmetics can support microorganisms, and FDA notes that ineffective preservation can contribute to microbial contamination.
Do not guess the preservative percentage.
Different preservatives have different usage rates, temperature limits, pH requirements, and compatibility considerations.
7. Package and Label
Transfer the finished lotion into a clean container.
A pump bottle is convenient because it limits repeated contact with the product.
Label your container with at least:
- Product name
- Date made
- Formula or ingredient information
- Preservative used
Store the lotion according to the requirements of your ingredients and preservative system.
Don’t rely on smell or appearance alone to determine if a preserved lotion is microbiologically safe. FDA explains that cosmetic shelf life depends on the product, storage, and use conditions, and preservatives can lose effectiveness over time.
How to Customize Homemade Lotion
Once you understand the basic structure, you can make different textures.
For a Lighter Lotion
Choose a lightweight oil and maintain a relatively high water phase.
Fractionated coconut oil, sunflower oil, or similar lightweight oils can create a less heavy feel than some richer butters.
Change one ingredient at a time so you can understand what caused the difference.
For a Richer Lotion
A richer lotion can include ingredients such as shea butter or a higher level of a suitable emollient.
However, adding more oil or butter changes the oil phase. You may also need to adjust the emulsifier or other ingredients to maintain a stable formula.
That is why copying a tested formula is safer for beginners than simply adding ingredients until the lotion feels thicker.
For Fragrance-Free Lotion
You can simply leave fragrance out.
This is also a good approach if you’re trying to keep your first formulation simple. Fragrance and essential oils can introduce additional formulation and skin-sensitivity considerations.
Why Does Homemade Lotion Separate?
If your lotion separates into a watery layer and an oily layer, the emulsion has failed or become unstable.
Possible causes include:
- Incorrect emulsifier percentage
- Using the wrong type of emulsifier
- Poor mixing
- Incompatible ingredients
- Major changes to the original formula
- Incorrect processing temperatures
- An unsuitable preservative or additive
Emulsifying wax is specifically designed to help bind oil and water in lotion formulations. Ordinary beeswax does not perform the same job in a typical beginner lotion formula.
If you’re new to formulation, don’t immediately try to rescue a badly separated batch by adding random ingredients. Review the original formula and identify what changed.
Can You Make Lotion Without a Preservative?
For a typical water-based lotion, skipping the preservative is not a good beginner approach.
Water creates an environment where microorganisms can grow. FDA warns that microbial contamination can come from water, raw materials, manufacturing conditions, and ineffective preservation.
If you want a very simple moisturizer without a conventional preservative system, consider making a water-free body butter instead. Body butter and lotion are different products because body butter can be formulated without water.
However, once you introduce water, you need to think about preservation and contamination.
Lotion vs. Body Butter
The biggest difference is water.
Lotion:
Contains water and oil, usually needs an emulsifier, and requires an appropriate preservation system.
Body butter:
Can be completely water-free and generally contains oils and butters. It does not need an emulsifier to combine water and oil because there is no water phase.
A body butter may therefore be easier for a complete beginner, while lotion offers a lighter, more spreadable texture.
Common Lotion-Making Mistakes
Using tap water
Distilled water is a common choice for DIY lotion because water quality matters in cosmetic formulation. Don’t assume that ordinary household water is automatically suitable for every formulation.
Replacing emulsifying wax with beeswax
Beeswax and emulsifying wax are not equivalent. A standard emulsifying wax is specifically formulated to help create stable emulsions.
Measuring by cups
Lotion formulation is more precise when ingredients are measured by weight.
A digital scale also makes it easier to reproduce a successful batch.
Adding too many ingredients
More ingredients do not automatically make a better lotion.
Start with a basic formula. Once you understand how it works, experiment with one change at a time.
Ignoring storage
Heat and contamination can affect cosmetic products and their preservation systems. FDA recommends keeping cosmetic containers clean, closed, and protected from unsuitable temperatures.
Frequently Asked Questions
How long does homemade lotion last?
There is no universal shelf life for homemade lotion. It depends on the formulation, preservative system, packaging, storage, and contamination during use. A properly preserved formula should be evaluated according to its preservation system rather than simply assuming that every homemade lotion lasts a certain number of months.
Can I use tap water to make lotion?
For a beginner formulation, distilled water is a practical choice. Water quality can affect cosmetic formulation and microbial safety. If you are following a tested recipe, use the type of water specified by that formula rather than making an untested substitution.
Can I replace emulsifying wax with beeswax?
Not as a simple one-for-one substitution. Beeswax does not function like a standard emulsifying wax in a typical oil-in-water lotion. Changing the emulsifier can change if the formula remains stable.
What oil is best for homemade lotion?
There isn’t one universally best oil. Lightweight options such as sunflower, jojoba, or fractionated coconut oil can work well in different formulations. Your choice should depend on the texture you want and the specific formula you are following.
Can I sell homemade lotion?
You can make cosmetics at home in the United States, but selling them creates additional responsibilities. FDA states that people who manufacture or market cosmetics are responsible for product safety and proper labeling, and homemade cosmetics must not be adulterated or misbranded.
Conclusion
Learning how to make lotion is easier when you understand the basic formula instead of treating it like a simple oil mixture. A successful lotion combines a water phase and an oil phase with an appropriate emulsifier, followed by a suitable preservation system.
For your first batch, keep things simple. Use a reliable formula, weigh your ingredients accurately, maintain clean equipment, and follow the instructions for your particular emulsifier and preservative. Once you can consistently make a stable basic lotion, you can experiment with oils, butters, texture, and fragrance one change at a time.